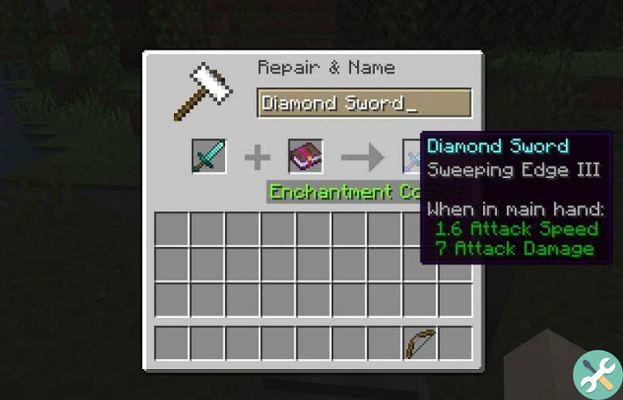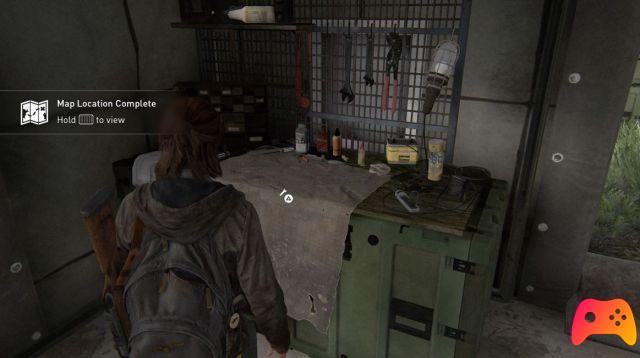
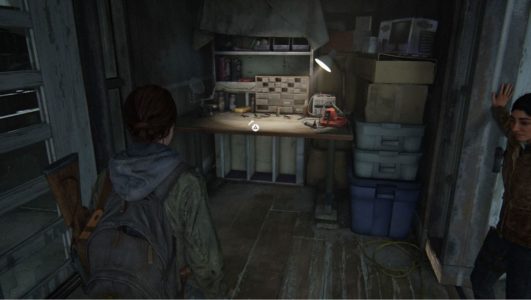
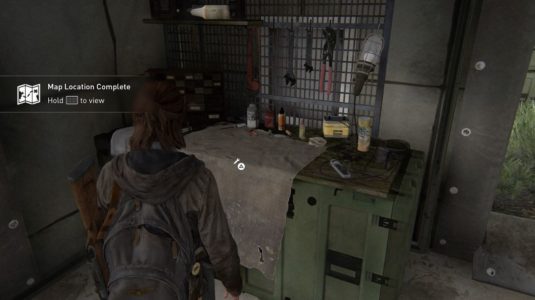
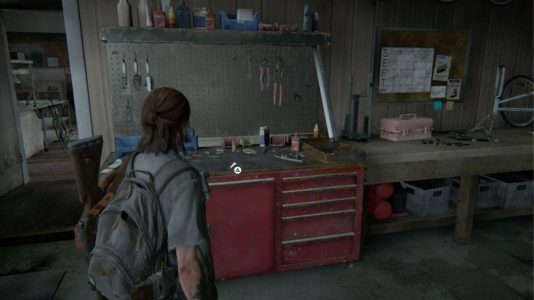
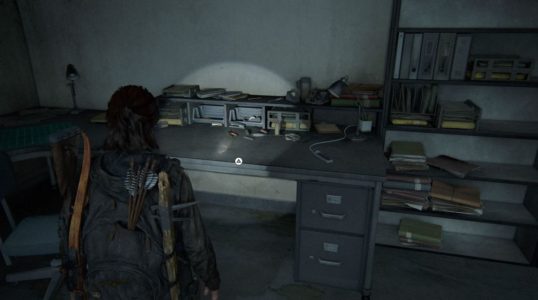
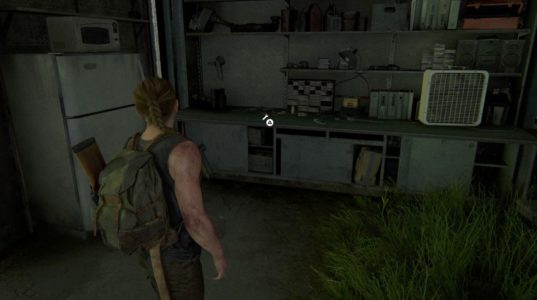
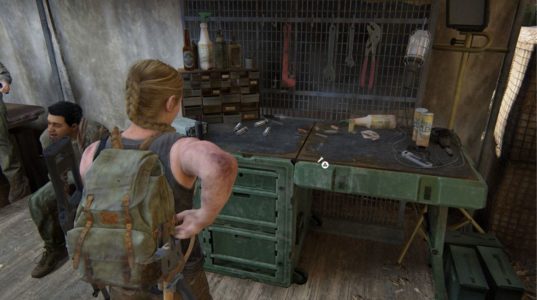
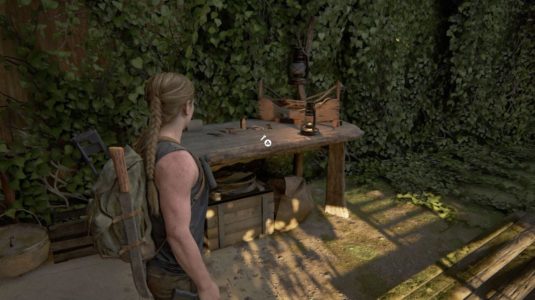
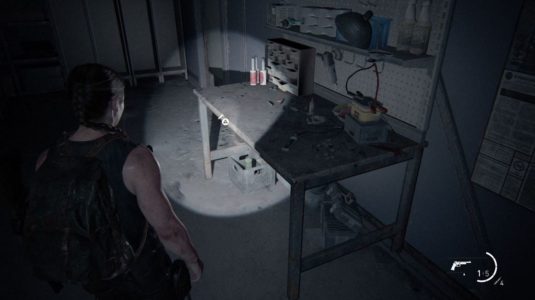
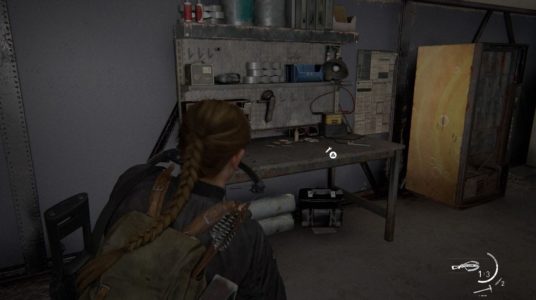
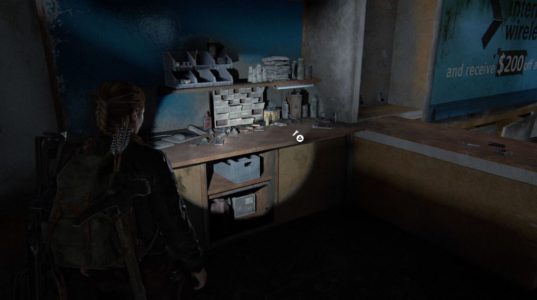
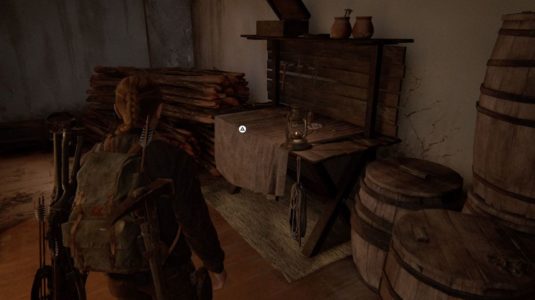
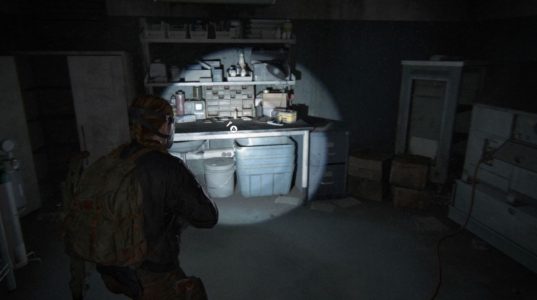
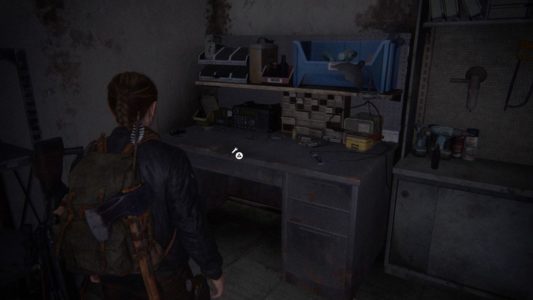
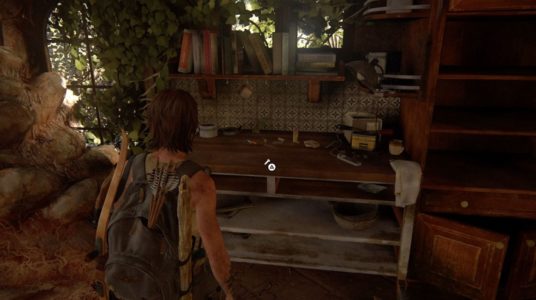
If you want to be ready for everything that Naughty Dog, with its PlayStation 4 masterpiece The Last Of Us Part II, has in store for you, it's essential to customize your gear.. To do this, you will need to find work tables. Scraps found all over the world can be readjusted to upgrade your equipment on these workbenches, scattered throughout the game. Plus, once you've found all of them, you'll get two trophies.
Some workbenches are more hidden than others, and unlike many other objects you can interact with in the game world, these stations can appear in more or less dangerous places. So you have to keep your eyes open. But it's definitely worth it, as the work tables allow you to upgrade some of the best weapons in the game.
In this guide, in order to avoid spoilers if you are at the first run, the positions of the workbenches are in chronological order. We therefore recommend that you consult the guide several times during the game.
Location of workbenches in The Last of Us Part II
Jackson workbench
You will find the first workbench of the game when you are on patrol with Dina. You'll find it down the hall when you need to turn on the Library generator.
Seattle Workbenches Day 1
Later on your first day in Seattle, after reaching downtown, you will find a workbench and supplies at FEDRA Field at the intersection of 5th Ave and Madison Street.
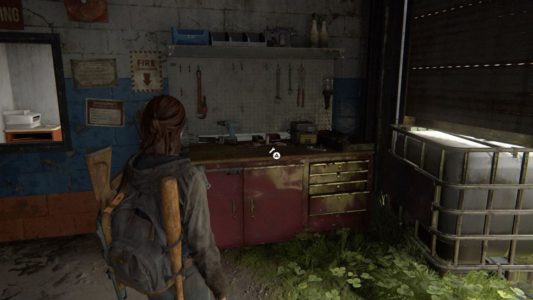
Further on past downtown Seattle, once you have made your way through the shopping streets filled with WLF troops, you will find a work table in the gas station and a garage next to Nancy's Halloween shop. It is on the left as you approach Nancy's.
Entering the second area with booby traps, you will find a martial arts school on the right. Inside, behind the dressing room, there is the workbench.
The next work station you will meet towards the end of the first day, in the subway station after the TV station. Once you reach the room lit by a red light, go up the ladder on the right side of the room and open the door in front of you to find the work table.
Seattle Workbenches Day 2
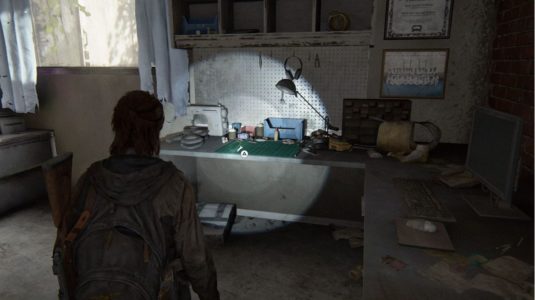
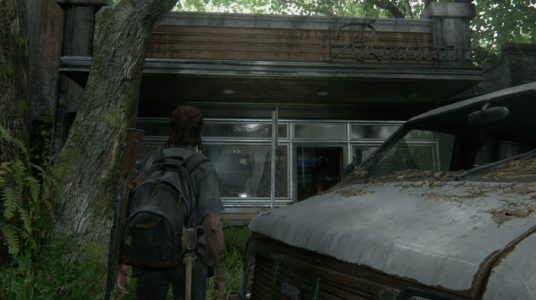
Afterwards, once you regain control at the start of your second day in Seattle, make your way through the “Natural Remedies” store. On the other side of this shop is a clothing store called "Rosemont". Inside you will find a hole that leads to the basement, behind the cashier. In the basement you will find a note and a workbench.
After fighting in the area where dogs are first introduced as enemies, you will eventually find a workbench in front of you as you advance. You will find it after pushing a dumpster from one side of the street to the other to go up and enter a garage.
Once Ellie begins the mission in the hospital, you will pass the Kingdsgate Brewing bar (on the left) and a conference center (on your right). Further along the road you will see an apartment building on the left. Go up to the door, look down the stairs to the right and you will see the entrance to the crawl space. The workbench will be located on the second floor on the right side of the building.
After the combat section at “Merci Cosmetics” continue forward and when asked to press R3 to block the view of the hospital, instead of following the flooded path forward turn left towards the “Weston” pharmacy. Inside, on the left side, there is a hole in the wall through which you can crawl into the back office. Inside you will find the workbench.
Seattle Workbenches Day 3
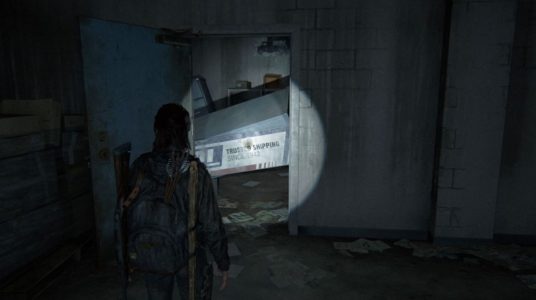
At the beginning of the third day in Seattle, after walking through the shopping streets passing through “Noodle Bowl” and “Frontier Rental”, continue along the dilapidated street. Break the window on your right to enter the "III DI" Go through the shop and open the door. Then, further down the hall, crawl under the door blocked by the “trusted shipment” sign to find a superhero card and workbench.
Further on, after crossing the library, when you step onto the bridge to orient yourself, there is another workbench. You will find it on the second floor of the building you pass through to go up to the next level.
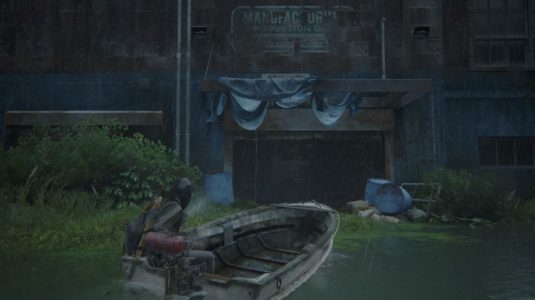
After the third set of rapids, you will see a bank on the left. It can be accessed via the manufacturer's garage. Inside there is a workbench. Also here you will get the first of the two trophies. In this case the silver trophy “In The Field”.
A little later, upstairs in the water-filled arcade, you'll find a Jak X Easter egg and the workbench.
From this point on in the guide there are spoilers. If you haven't made it past Seattle Day 3, we recommend that you read no further.
Abby Seattle Workbenches Day 1
After leaving the field, things will have taken an unexpected turn. Later you will come to a point where you use a cable to go up to the roof of a warehouse and then go down into the building. Inside are 23 materials on the shelves next to where you will hold the door open for Mel. In the next area you will find the workbench.
Once you reach the FOB, you will find a workbench on the left at the entrance to the camp.
Further on, towards the Martyr's Gate, past the Seratiti mural, you will find a wooden workbench at the top of the building after fighting the hyenas.
Later, after the sad cutscene seen in the reveal trailer, you will find a workbench on the left, after entering the garage with Lev and Yara.

Once separated from the kids and jumped the fence, look at the open container on the right and you will find 10 materials. In the building just ahead you will find the workbench.
Abby Seattle Workbenches Day 2
Once you regain control of Abby on the second day, the workbench is the same one you used the night before, on the way back through the warehouses.
Proceeding in the company of Lev, on the left side of the shop you will find the workbench. The shop is found once you enter Interbay during platform jumps in the rushing river.
Later, when you reach the territory of the Hyenas, you will find another workbench. Precisely on the second wooden staircase, once you have passed the mural.
Towards the end of the second day, you will find the workbench near the generator in the surgery area of the hospital.
Abby Seattle Workbenches Day 3
After hiding from the two Seraphites running down the hill and passing the lookout tower, turn your gaze to the chapel on your right to read a note on the wall. In the building opposite the chapel you will find another note - on the bed to your left - and a workbench.

A little further on, after the fight with the wolves, hurry up to a building and right in front of you will find a workbench.
Epilogue workbenches
As you make your way to the large fenced house, face the clicker on the roof. Then enter the window with the red rag hanging on the right. Go downstairs and you will find a note on the kitchen island and a workbench, also inside the kitchen.
The last workbench is located a few areas ahead, in the central building near where the two men teased the chained runner when entering their court.
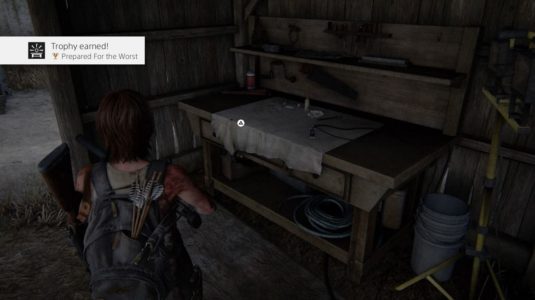
Once you find this last workbench, you will get the “Prepare for the Worst” trophy.
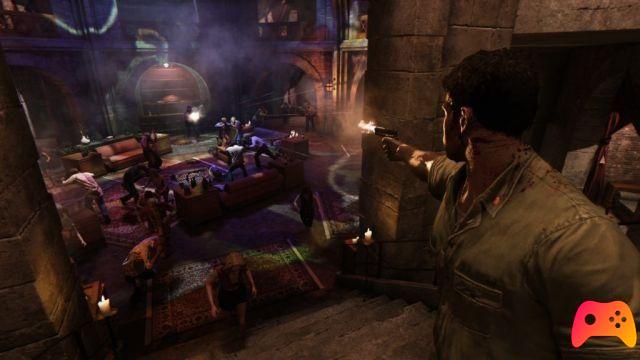
► The Last of Us: Part II is an Adventure-Action-Horror-Survival game developed by Naughty Dog and published by Sony Interactive Entertainment for PlayStation 4, the video game was released on 19/06/2020
The Last of Us: Part II is a game to own at all costs: we decided to evaluate it with a 98%, if you are interested in learning more you can read the Review of The Last of Us: Part II