What is it and how to make a frame in Minecraft?
A frame is a block or tool that Minecraft offers for creating banners or adding patterns. This tool can be obtained either by crafting (crafts) or by finding one previously made inside a village and claiming it as yours on the spot (as a tip before continuing you must update Minecraft to the latest version, so that this item appears).
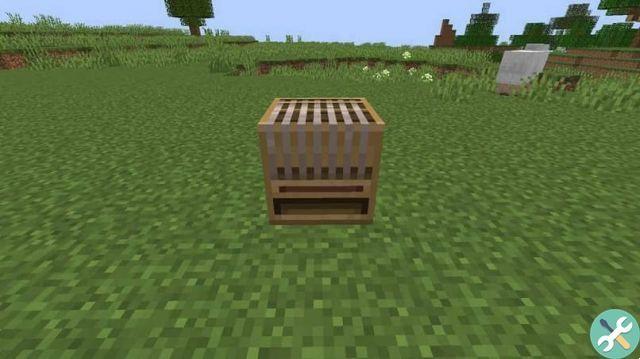
This block consists of its basic elements: two (2) wooden planks and two (2) units of wire. You don't need a specific type of wood, so simply pave a tree in the area, which allows you to get what you are looking for almost immediately.
The wire or pieces of string, as expected, can be obtained by means of the spiders present in the game. If you are lucky you will not have to exhaust yourself fighting with them for a bit of thread, but just find cobwebs whose final product is the threads (these must be cut with scissors, so you should look for how to make scissors or shears in Minecraft and then continue).
Once everything has been memorized correctly, go to "Creation table" or to "Window of creation «. There place the two units of each collected material where they match to create a frame in Minecraft.
It's ready! If everything went as planned, you will have obtained a frame by the time you finish crafting, now the next step is to use it in its maximum splendor to perform certain actions.
Correct use of the frame: making banners
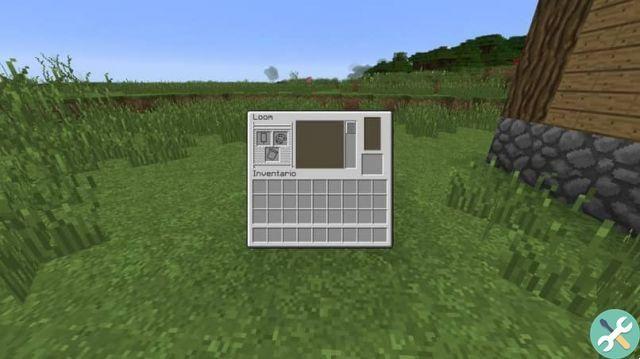
Following this order of ideas and with the frame in your possession, place it in front and do «Click destro» on the icon that represents it to open a menu or an interface belonging to the object where three main boxes are shown in the upper left part, place of importance.
If you look closely, the frame describes a kind of work table for creating banners. So specific materials are needed to finally successfully produce what you like.
The materials mentioned are none other than a banner, dye and banner pattern or design. Each unit alone must be positioned respectively in a square of the frame and to be able to opt for multiple banner templates.
The banner can be created on the workbench thanks to 6 (six) blocks of wool attached to a wooden stick. The color of the canvas will essentially depend on the color of the wool blocks originally.
Now, with the color and banner designs, you can play around with the range of options on offer to get a good result. In Minecraft there are 16 (sixteen) colors for the tints which are divided into: 7 (seven) primary and 9 (nine) secondary.
Curious fact
As an additional information, the primary colors originate from objects in the game, for example the color black comes from sepia. While the secondary colors for dyes arise from the combination of two or more primary dyes. If you want to know more about this, look everywhere on the internet how to make or get all the Minecraft dyes, so that you can make your banner in any color.
It is really easy to make a frame in Minecraft, but of course you can skip these steps if you have the tools mentioned in your inventory. If this is the case and as already mentioned, you simply have to join the 3 (three) elements via the frame and BOOM! New banner unlocked and ready to be displayed as a decoration or applied directly to a shield. Your time has come!
Once done, you can proceed to create more complex tools, such as making a stonecutter in Minecraft, which will help you even more than a decorative banner.