Search
Search
Search
Android ROMs the best alternatives to CyanogenMod that you can install on your Android smartphone or tablet.For several years, CyanogenMod has been the most used custom ROM...


How to make a collage on Instagram? You have an Instagram account and you work hard to create and share good photos, inspiring you a little...


Whether it's a long plane ride or travel, Netflix has become synonymous with entertaining on the go. TV series like "Squid Games", "Bridgerton" and "You" all require...


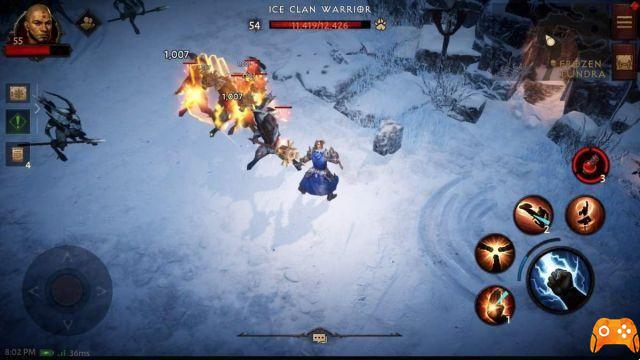
Diablo Immortal's Cycle of Strife isn't just a killing-focused PvP activity. The factional battle at the server level has many complex components involved in deciding which side...

Review for Attack on Titan 2. Game for PC, PlayStation Vita, PlayStation 4, Xbox One and Nintendo Switch, the video game was released on 15/03/2018 The version...


![]() Sitemap 2026 / epictrick.com
Sitemap 2026 / epictrick.com ![]()
![]()
![]()