Search
Search
Search

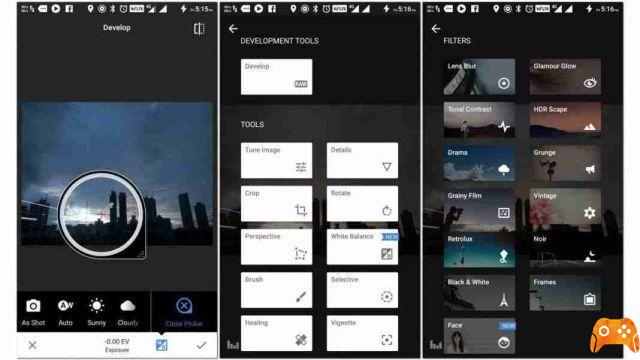
App to download free music on smartphone or tablet. Find out how to download free music to your Android and iOS device.Increase your music collection with these...


If you want to turn off Instagram likes, you've come to the right place. This article provides detailed instructions on how to do this on iPhone,...


How to change Netflix subtitles. Netflix has decent subtitles, but they can sometimes be difficult to read if they appear against a light background, or if your...


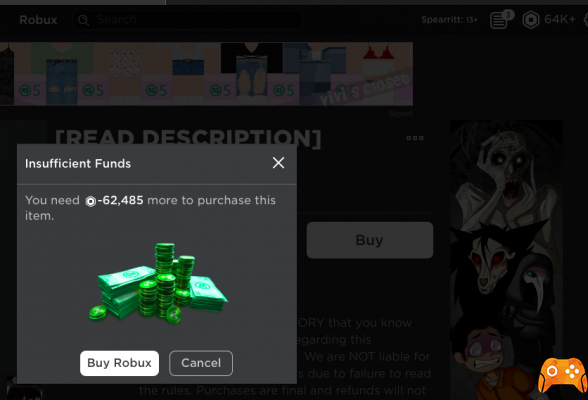
Over the last few hours he's been making some discussions about starting a real one class action against the developers of Roblox, accused by some users because...

In this guide we explain how to get the best ending in Radiant Historia: Perfect Chronology, which is no small feat given the amount of crossroads to...


![]() Sitemap 2025 / epictrick.com
Sitemap 2025 / epictrick.com ![]()
![]()
![]()